A Bit More Technical Yet More Customizable
WordPress is an excellent open-source content management system (CMS) that allows many possibilities for your website, many of them for free.
In fact, 35% of the websites that exist have been created using WordPress, which makes it one of the most popular and used options.
WordPress, unlike Wix, is more technical. However, it supports more customizable features.
Nonetheless, it can still be used by anyone regardless of their skill level. The content management website has been around for a while and is arguably one of the best.
Features and Benefits
- WordPress is built to handle simple and complex websites.
- As a result, it is ideal for hosting social networks and showcasing portfolios among its many features.
- It is user-friendly and can run within minutes regardless of your level of technical expertise.
- All you need is a web hosting account and a domain name.
- The process is intuitive, and the dashboard has everything you need to customize your page layout.
- Plugins also extend the functionality of WordPress to include all the elements you require to create a website.
- Purchases of plugins can be made and install different ones from third-party developers or deactivate them when you don’t need them again.
- WordPress has a vast collection of themes that lets you improve the appearance of your site.
- Since the theme directory is always growing, you can always purchase more via the design marketplace to improve your site’s appearance.
- WordPress ranks your site high on Google and other search engines.
- The reason is that the system is always updated, and the tools and plugins optimize your content for SEO.
- WordPress sites can be accessed on mobile phones without distortion. Therefore, any mobile device can access your site.
- You can choose from different responsive designs or make adjustments to static responsive plugins if you want.
- WordPress is a content management software where different system features make publishing easy.
- For example, it offers a built-in blog feature that you can access from any device. So, if you want to add a blog to your site, you don’t need to create it separately.
Steps to Build a Portfolio with WordPress
Step 1- Choose a Host (We Recommend Bluehost)
As we mentioned earlier, selecting the appropriate host is an essential job that ultimately determines your user experience.
The hosting principle is that you will get what you pay for; hence, choosing the cheapest hosting plan will affect your website.
Instead, the hosting provider should ensure minimum downtime, optimal performance, and fast load times.
Put differently; the host must be able to handle the high traffic of a demanding site. It must also offer impressive security and support in case something goes wrong with the site.
More importantly, the host must have a reputation that is backed with a consistent track record of success.
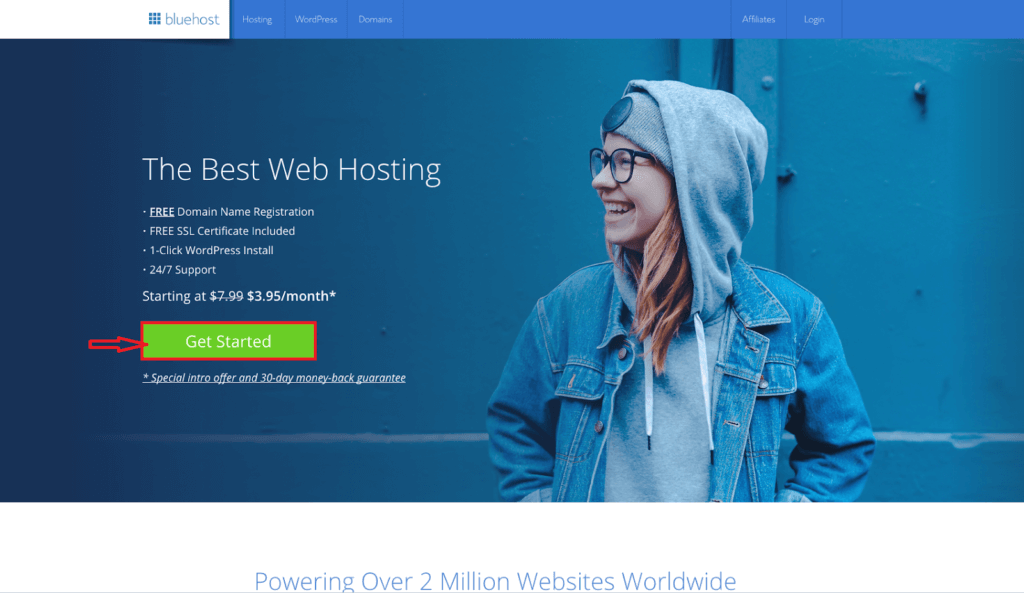
This is why we recommend Bluehost for your hosting since it is the hosting provider recommended and backed by WordPress.
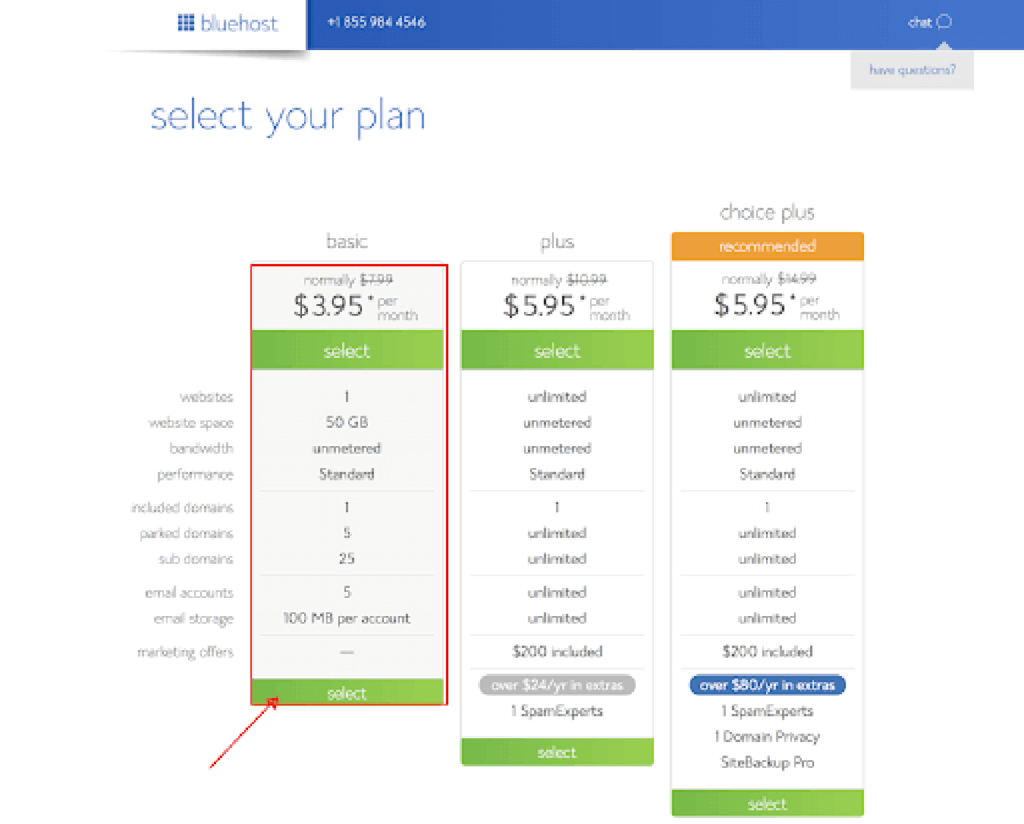
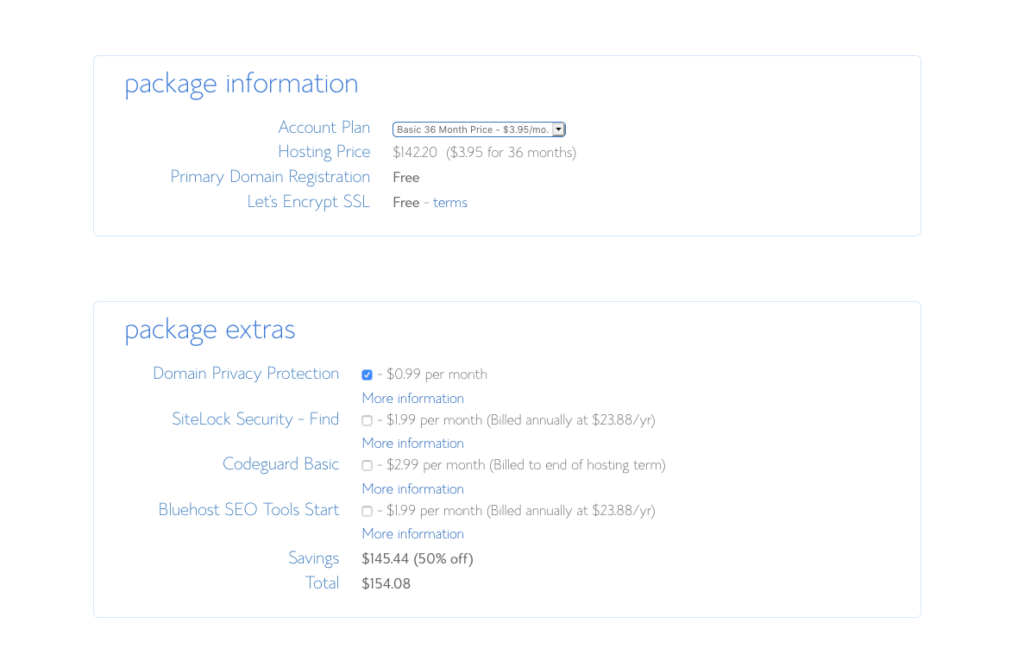
Bluehost is ideal for portfolio sites, and the hosting packages include an SSL certificate and a free domain. Plus, you can get a package for as low as $3.95 monthly which is the basic plan.
Step 2 – Pick a Domain Name That Will Align With Your Brand
After selecting your host provider, the next step is to choose your domain name.
The domain name is a name peculiar to your website and is required to access it, whether by you or an outsider.
You can select from a long list of domain names; however, it should reflect your brand and business. And you might already have a domain name, it is still not a waste because it can still be used.
Use a memorable name that people won’t forget quickly but tied to your brand with a bit of relevance.
You can register domains at several web hosts and domain registrars like NameCheap, Domain.com, or GoDaddy. Nonetheless, if you are having trouble coming up with a name, you can use a domain name generator.
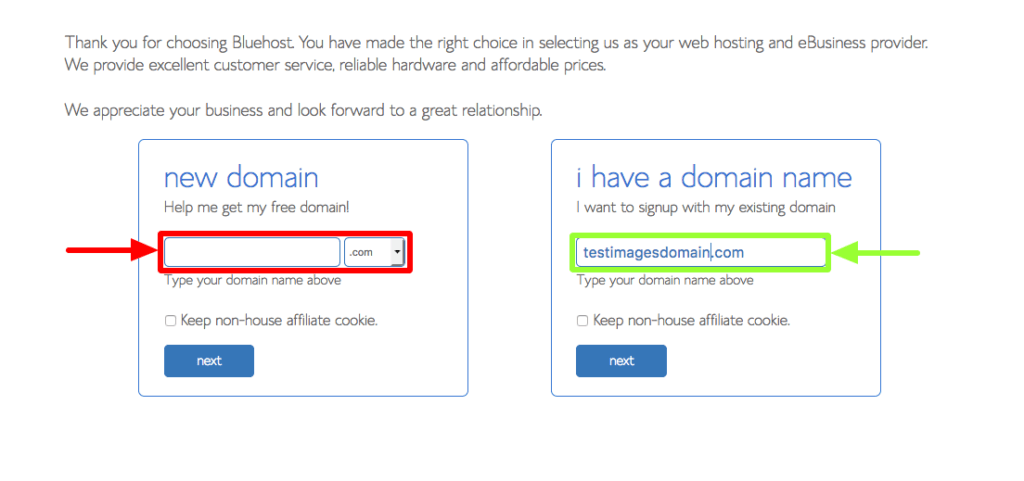
There are different levels of a domain name; however, the cheapest and commonest is the .com. Besides, it is simple and sticks longer than the overly complicated ones.
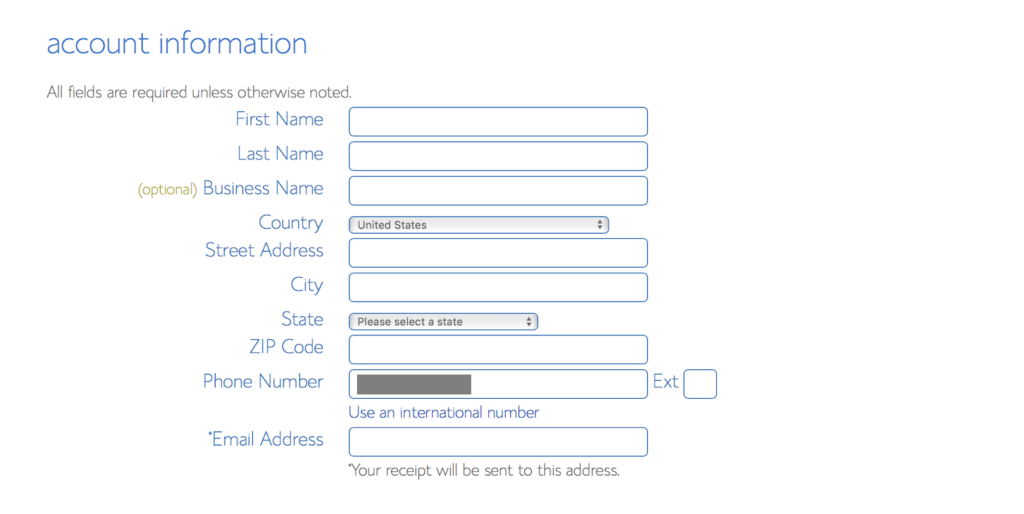
Once done, the next thing for you to do is filling your account information.
Right after you finish with your account information, a section will come up where you can choose the hosting package you want then you press next to confirm your purchase.
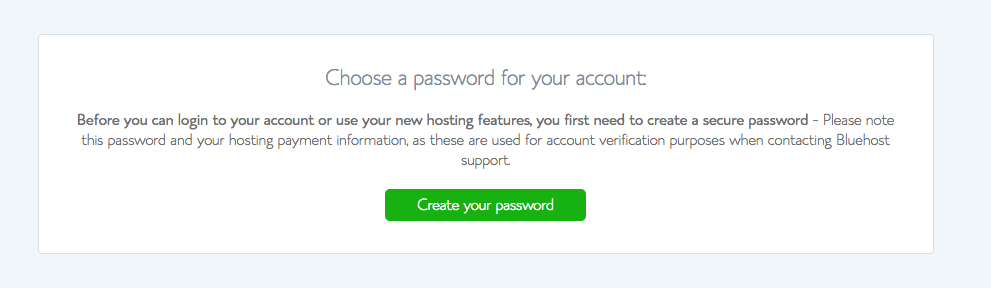
Immediately after you confirm your purchase, you would be taken to the page where you will create a password for yourself.
Step 3 – Install WordPress and Log In
The installation process differs from one web host to another. However, the process is the same.
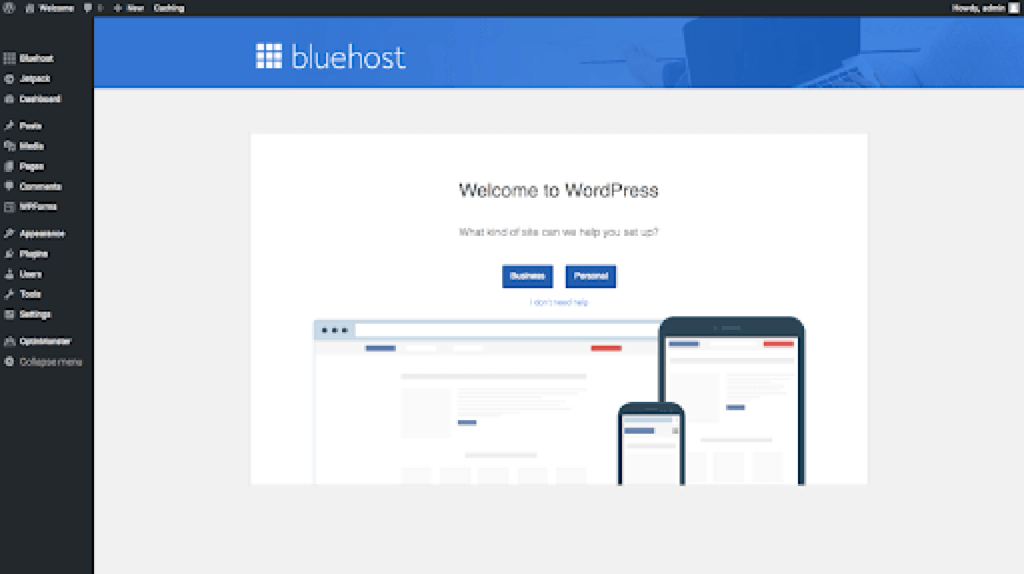
After selecting and paying for a hosting package, you can proceed to install WordPress.
If you want to make the process less complicated, you can let your hosting provider handle it just the way Bluehost did.
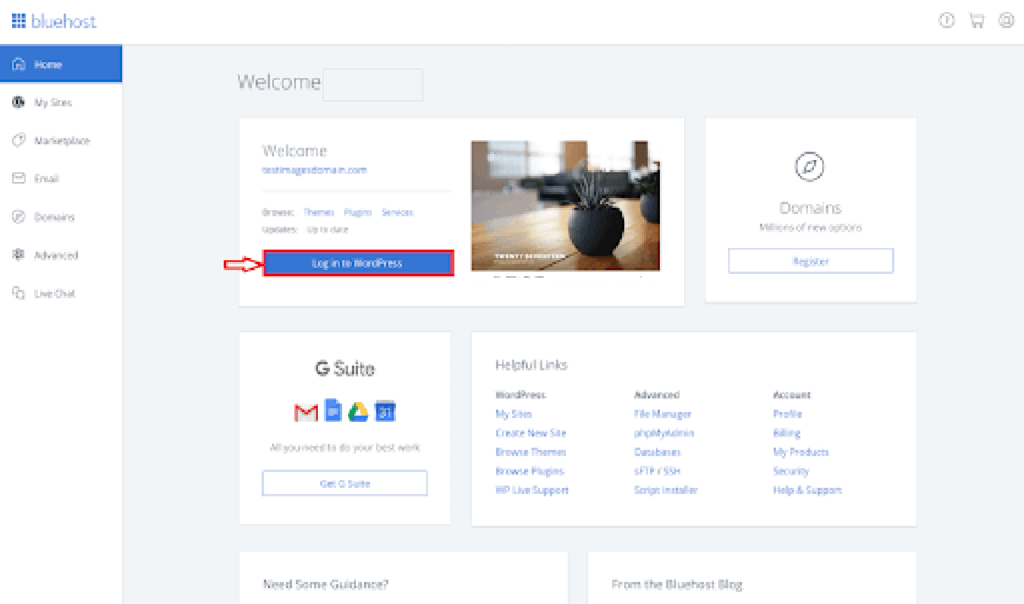
If you have selected a reputable host, it will allow you to install WordPress with the click of a button.
In fact, a pre-installed WordPress can be part of the package. Hence, you can let your host handle the process for you.
After clicking on the app installer icon, the screen will display the WordPress option, and you click to install. You will see the process begin after clicking on the command.
It will then bring a new screen that will require you to fill in your name, account name, description, password, and other questions.
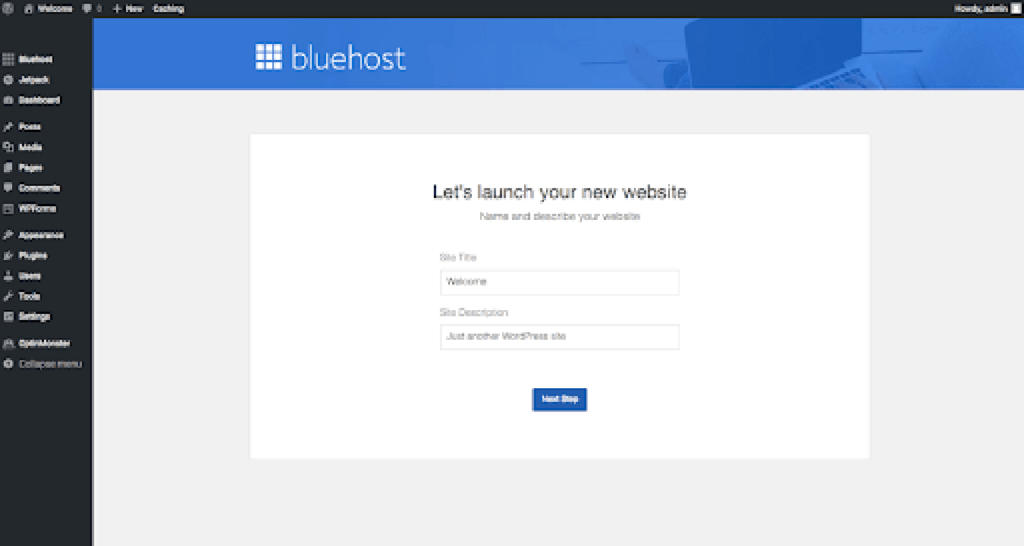
Although the questions are mostly for security reasons, you won’t have a problem answering them since they are self-explanatory.
After filling the fields, click on install and wait for the process to end. That’s simple! You can proceed and build your portfolio at this stage.
To login, all you need to do is add /admin/ or /login/ to the end of the site’s URL.
For example, it can be www.foreign.com/login or www.foreign.com/admin. All you need to do is to replace the examples here with your domain name, it will then redirect you to your login page on WordPress.
If this does not work as it should, probably because you installed your site in a subdirectory or subfolder like /WordPress/, it will be one of www.foreign.com/wordpress/login/ or www.foreign.com/wordpress/wp-login.php.
Another one like it is if you installed it on a subdomain.
Instead of using www, you will use a subdomain. It will be something like subdomain.foreign.com/login/ or subdomain.foreign.com/wp-login.ph.
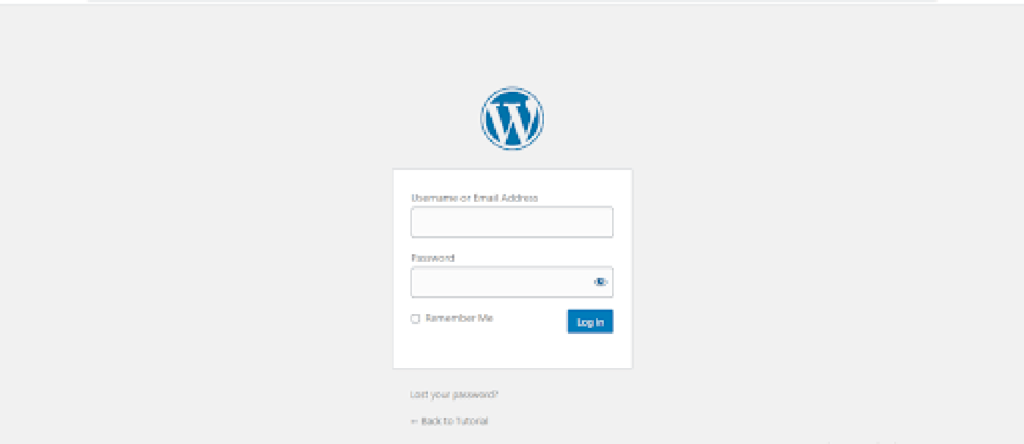
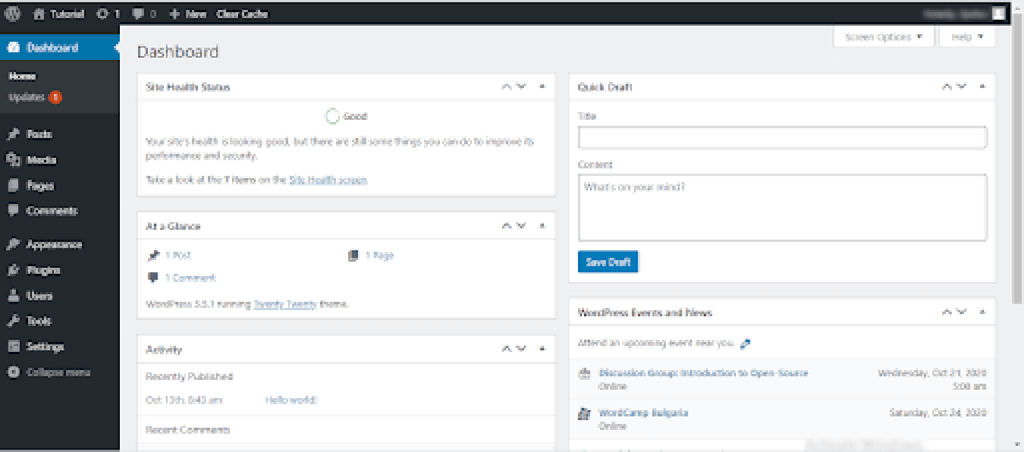
Once you are successfully logged in, it will direct you to your portfolio site or admin area dashboard.
If you don’t want to forget your login details, it is best to add it to your sidebar or bookmark it. You can also use the “Remember Me” function to skip logging in every time you want to access your site.
There is a checkbox with this name on the login page that lets you directly access your admin area without entering the details. Do note; it is only for a specified period.
Step 4 – Pick a Theme For Your WordPress
There are different high-quality themes and plugins on WordPress that you can choose from. And, you shouldn’t have any problem figuring this out.
You can select from a range of free themes and premium ones that you have to pay for, but when you’re thinking of going for a theme, then Envato themes are recommended as they have a wide range of themes for customization and most are at affordable prices.
Although some free themes are handy, they don’t make your site look professional and contain limited features that will wow your audience. Hence, you can consider choosing a premium theme for a fee that can be as low as $10.
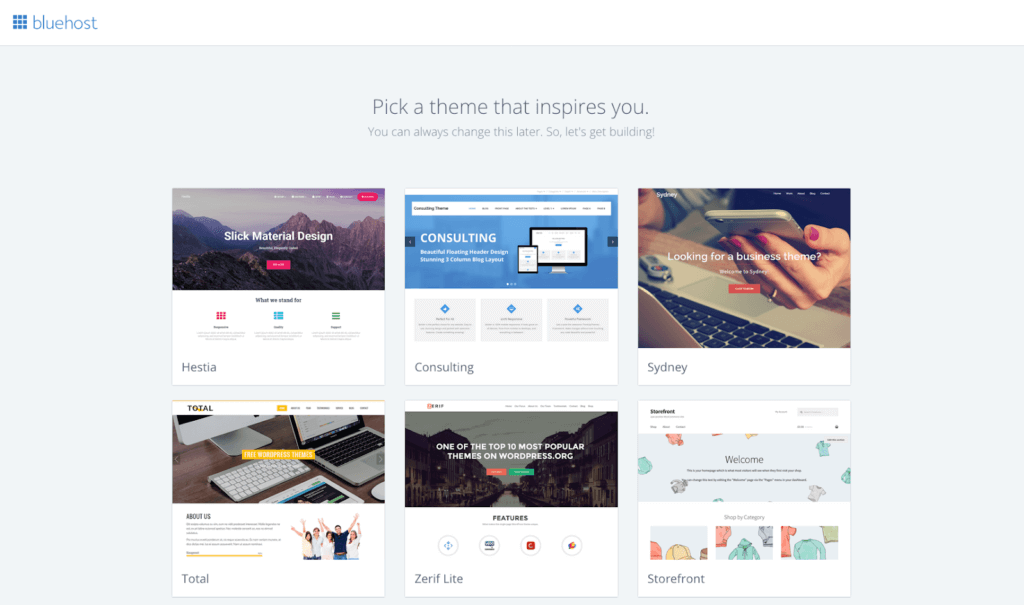
There are also independent theme developers that you can use.
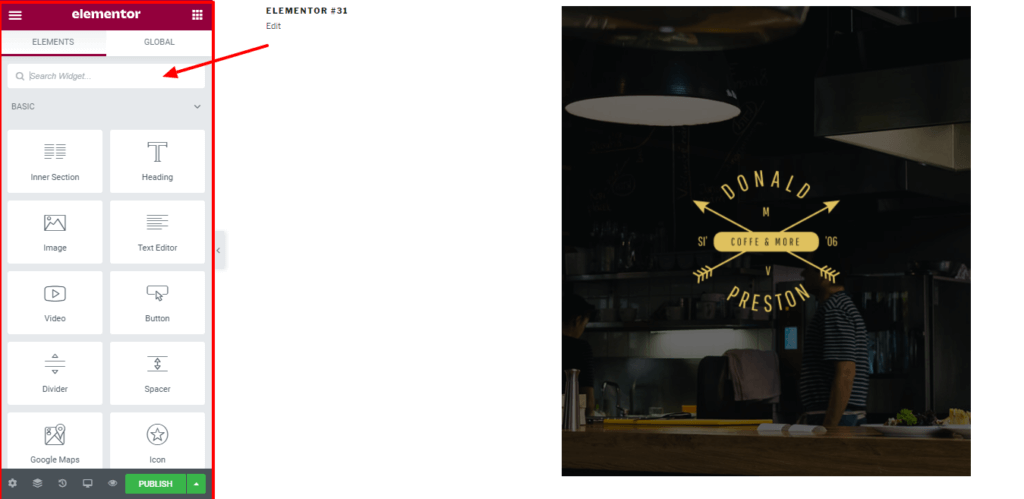
Elementor is a versatile page-building tool that allows you to design and craft pages and websites.
One excellent feature of the Elementor is that it is especially handy for freelancers with the easy drag-and-drop feature, whereby you can just pick up any widget of your choice and place it at any position you want.
It allows you to choose a portfolio theme (this is not the website’s main theme) or template from the Elementor template library, edit the header and footer, select the page size, and customize different page sections.
Interestingly, you don’t need to know how to code before you can use it.
Below are a few steps for using Elementor for your WordPress website.
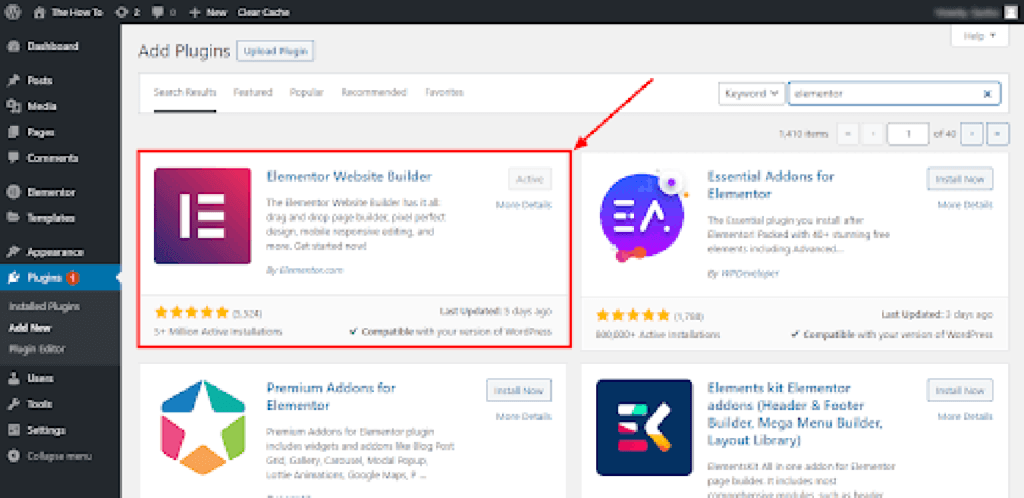
- Install Elementor through the plugins on WordPress
Elementor is a plugin; hence, you can install it as you did with other plugins you’ve added to the site.
To do this, visit the plugins and click on Add New.
Search for Elementor and wait for a display of the result. Next, click on Install and on Activate after the installation process is complete.
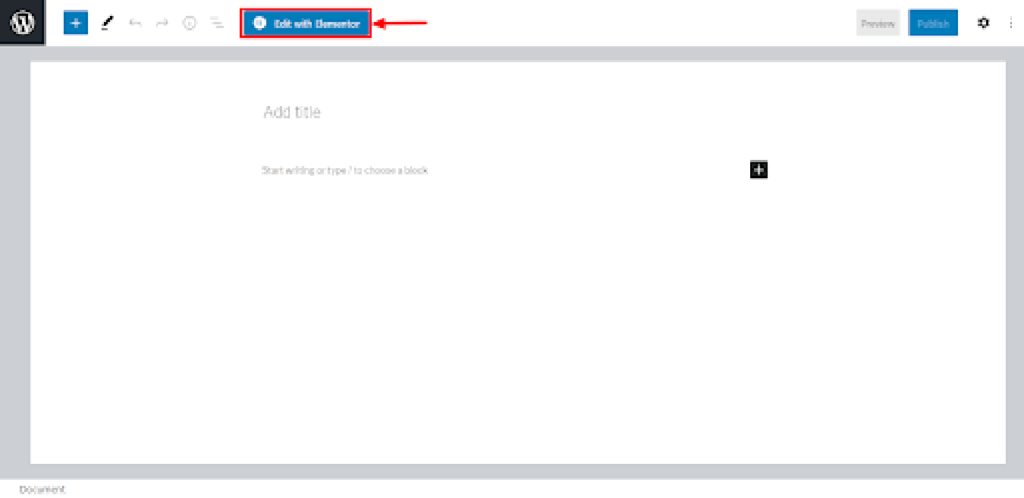
- Edit your page with Elementor
The Elementor editor does most of the editing work you need to be done on the page. Visit the Pages or Posts Menu (your page is where your posts are displayed) and select the page you want to edit.
Pages are your contents that are static but need changing while posts are your contents that are being added to your pages regularly.
An Edit with Elementor button will take you to the editor; however, we recommend that you add all your content (both the title and information needed to be displayed on the portfolio) to the Elementor for a quick and clean project.
There is the option of adding additional blocks for your content if needed.
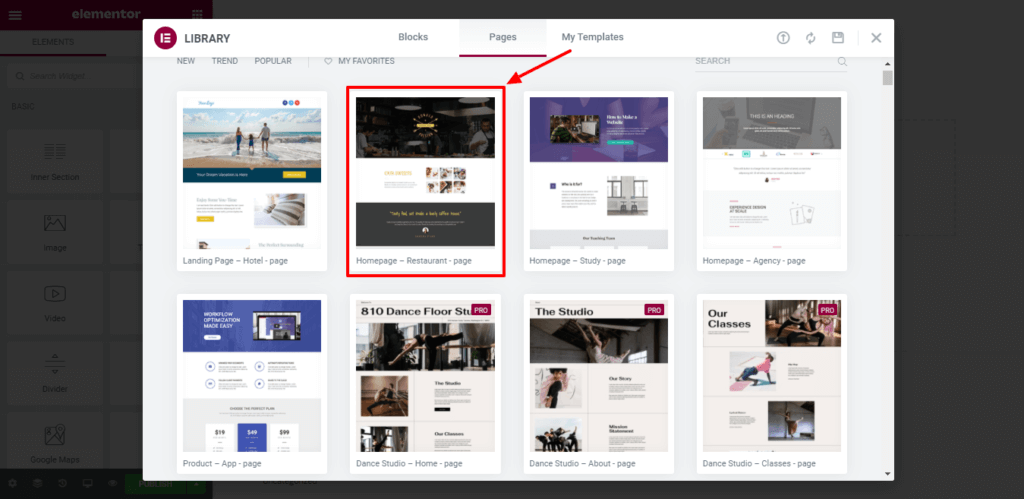
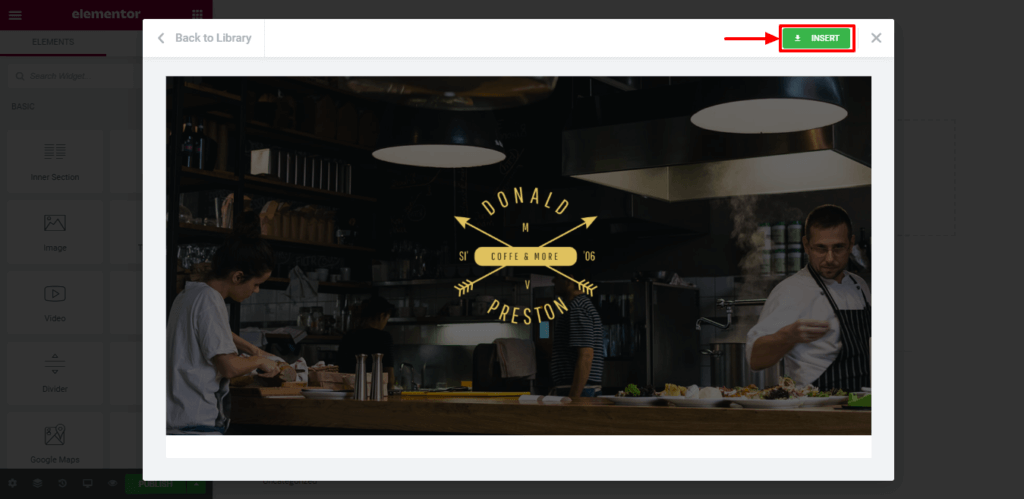
- Insert Elementor template
Once inside the editor, click on Add Template and select from the different paid and free template options.
We recommend that you use it one template at a time until you find the one you are comfortable with.
You might need to create an account on Elementor being a new user
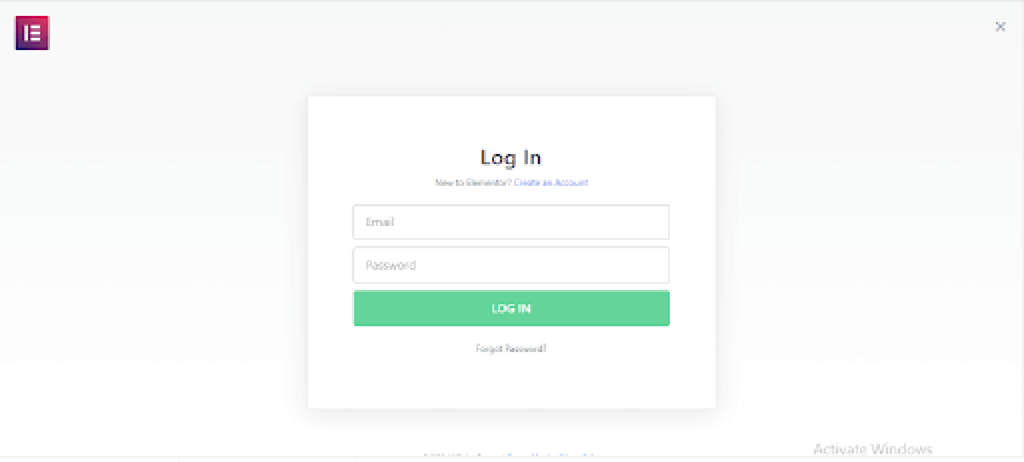
Immediately after signing up and logging in, a page like the below screenshot will come up
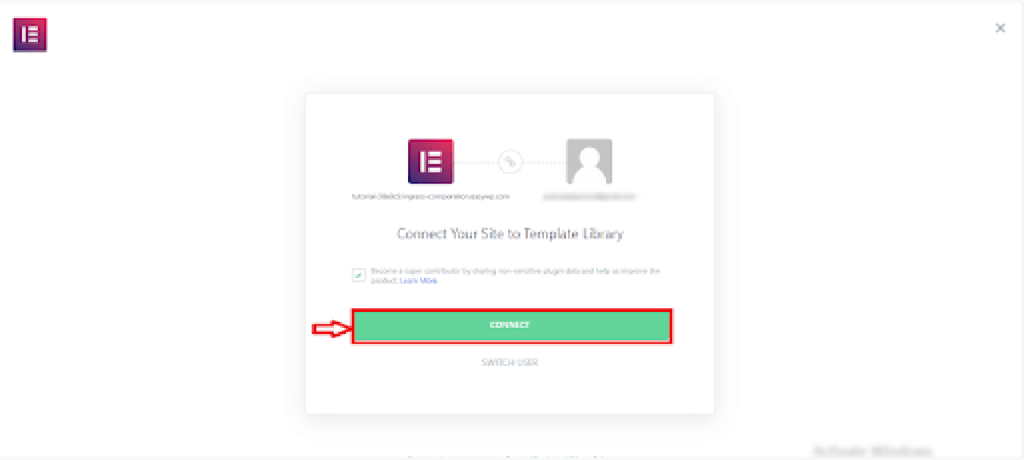
then you click on connect
- Set the width of the template
You can customize the width of the template under Layout. You can change the template of the page under the Page Attributes Section.
Choose the template to select between full width with footer and header or full width with no footer or header.

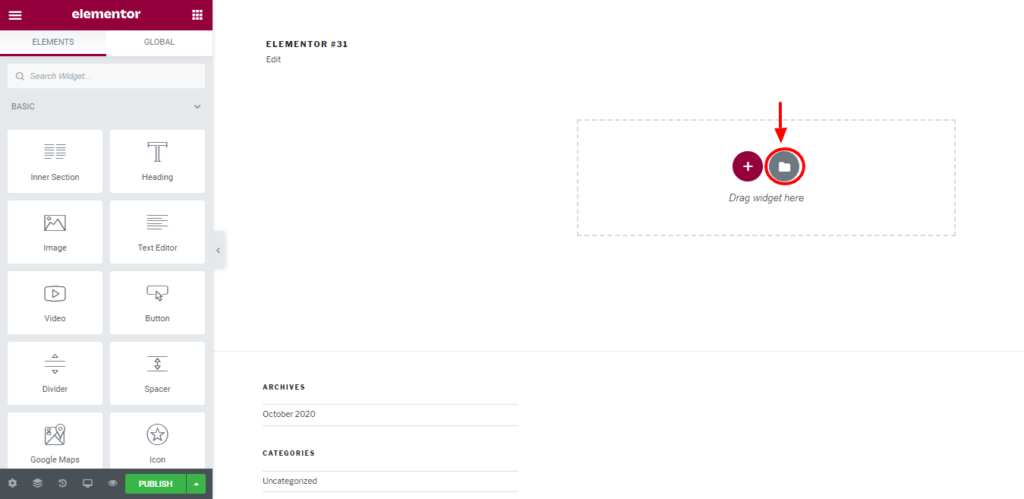
- Add a widget
Widgets are fundamental to using elementor. The widget section contains different sections and sectors to make your design look more appealing.
Inside the different sections, you will find the icon, heading, and text editor widgets.
Since you want to build a WordPress portfolio, you can use all the default widgets and any other ones available on your plugins. There is also a search space there in case you are finding it hard to locate a particular widget.
To add a widget, drag and drop the widget in an outlined box for a preview.
After adding the widget, the sidebar offers different customization options to make it look more appealing. Nonetheless, each widget has an advanced section, style, and content. You can also edit the widget and preview it before use.
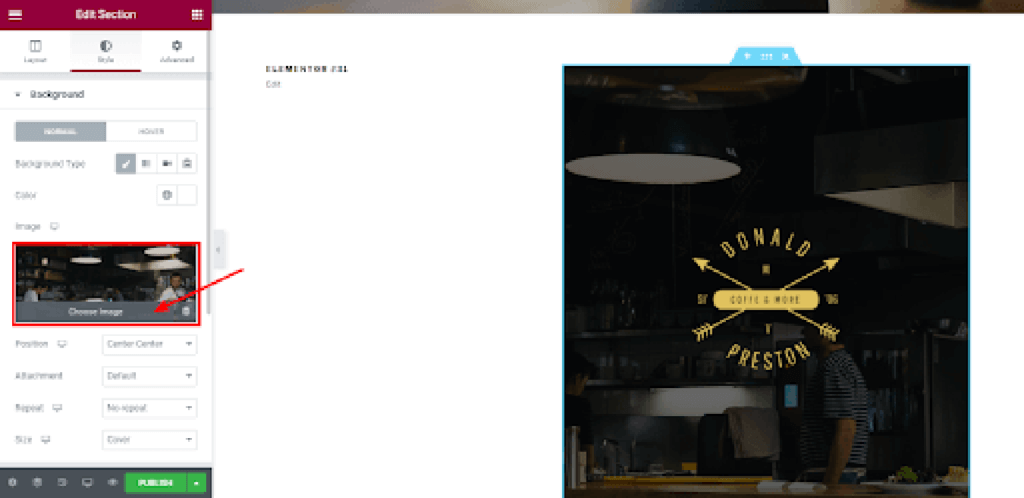
- Edit background image
To change and edit background images, visit the page you would like to edit and select “edit with Elementor.”
After this, click on the center icon located above where you want to edit. Click on Style from the left menu and wait for background options. The options allow you to either replace or edit your background image.
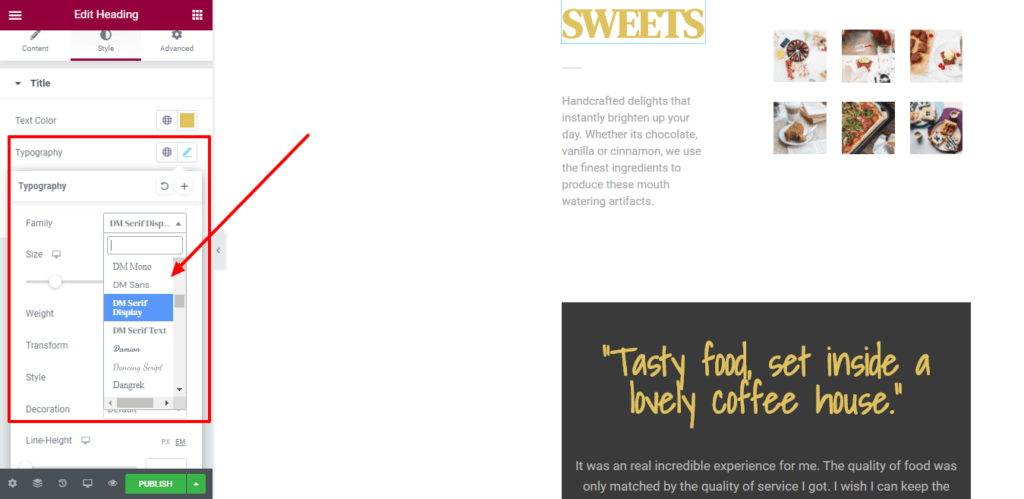
- Change Fonts
Click the widget settings and select the Edit icon on Style to change your font. You can change your font color, size, and style from here.
Step 5 – Activate Your Chosen Theme
If you decide not to publish your portfolio on WordPress using Elementor, then you have to activate any chosen theme of your choice.
After finding the right theme, you need to activate them.
When you log in, locate the tabs for Appearance and plugins but click on Appearance, you will see a new screen that will prompt you to add a new appearance.
When you click on this, it will bring a screen that will either ask you to upload a new theme or activate any of WordPress’ default themes.
If you click on Upload Theme, it will ask you to locate the folder on your computer, and clicking on such a folder will automatically install the themes. You can also do the same for plugins.
Don’t skip the activation process, or the themes won’t function.

Step 6 – Create Your Portfolio
Before proceeding to your portfolio page, you need to create the portfolio. But before then, you also need to create all the items that will go into the portfolio.
You can add any content you want on the page, including the layout, images, title, tags, and categories.
Once you are done, save the post and continue.
Step 7 – Edit Your Portfolio
To manage and edit your portfolio page, click on the portfolio section and select any item on the page to modify it.
You can place the items into categories to give the page a more organized appearance.
To add a new item, click on the Add New command and input the content and title. You can also use a featured image section to create a thumbnail.
Step 8 – Customize Your Portfolio
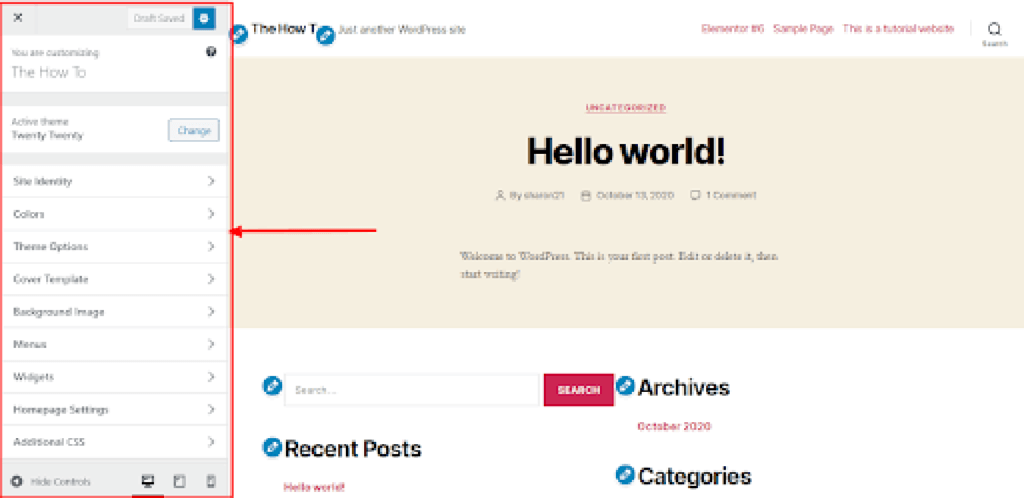
After choosing and installing the themes, you can customize the portfolio in numerous ways.
You can use a live customizer to alter the site’s color scheme, header image, and background.
You can also add to the menu if you want.
Built-in page builders offer premium themes, but you can install a builder plugin if you want more control over the design.
A functional builder will let you modify your portfolio’s different aspects with a drag and drop feature at both the back and front end of your site.
Apart from this, there is a panel within the dashboard where you can change your theme setting.
You can also customize your typography, widgets, colors, layers, and more. If you want, you can code your portfolio site to match your specification; however, you don’t always have to do this.
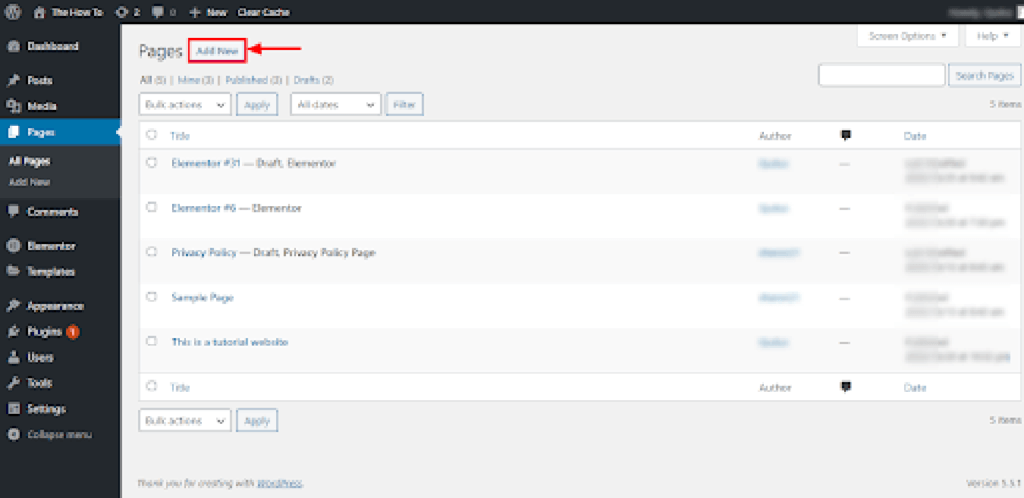
Step 9 – Create a Page For Your Portfolio
Now that you have all the items you want to include in your portfolio, you can proceed to create a page that will hold them all together.
Go to Pages and click on Add New. Enter the page’s title and save your changes.
After this step, click on the elements you want to add and customize the portfolio page the way you want.
You can also improve the settings of the elements to alter how your page appears. For example, you can add borders, titles, categories, grid styles, and much more.
Feel free to play around the page for as long as you want. When you are done, save your changes.

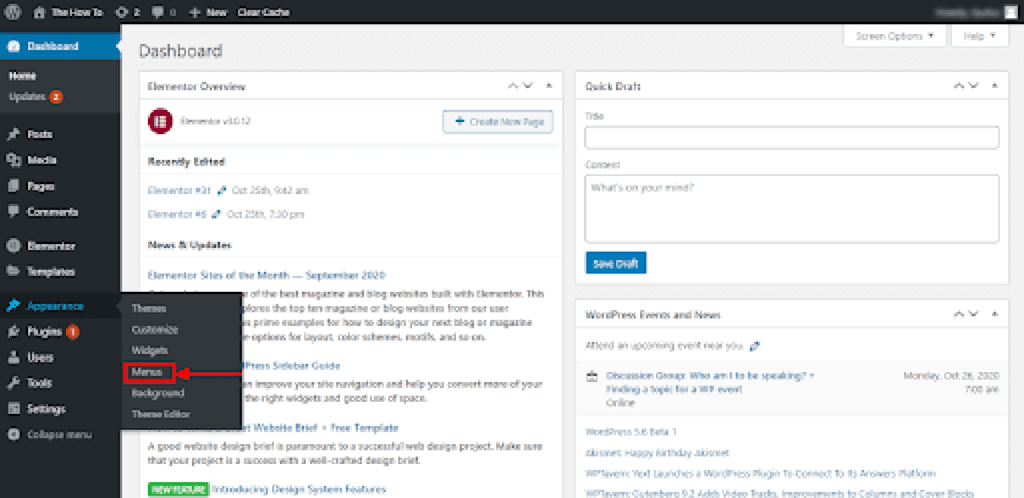
Step 10 – Add Your Portfolio to the Menu
The portfolio page that you’ve just created should be included in the main menu so that visitors and potential clients can view your portfolio straightaway.
To do this, go to Appearance on your portfolio page, select Menu, and click on the option to Add to Menu.
Your portfolio will appear among the menu items on your homepage for convenient access.
Conclusion
Although to use WordPress you do not need to know about web development, learning about its operation will allow you to create a professional website.
It is highly recommended that you take the time to learn about the features of this platform, such as choosing the correct host, editing the themes, or creating a portfolio.
That way you will get the most out of it, and to achieve it you must have patience and a lot of dedication.